What is the Floor Plan?
The OctoTable floor plan is the digital room, where you can get an overview of what happens in the room during the service.
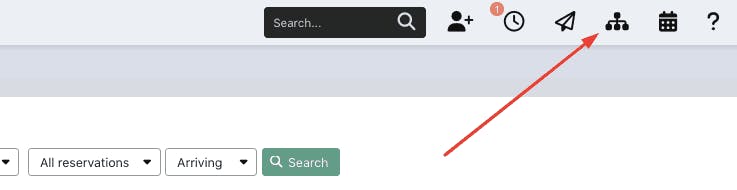
To access the Floor Plan go to Calendar > Floor Plan from the menu on your left or you can click on the icon on the top right corner:
How to place the tables on the map?
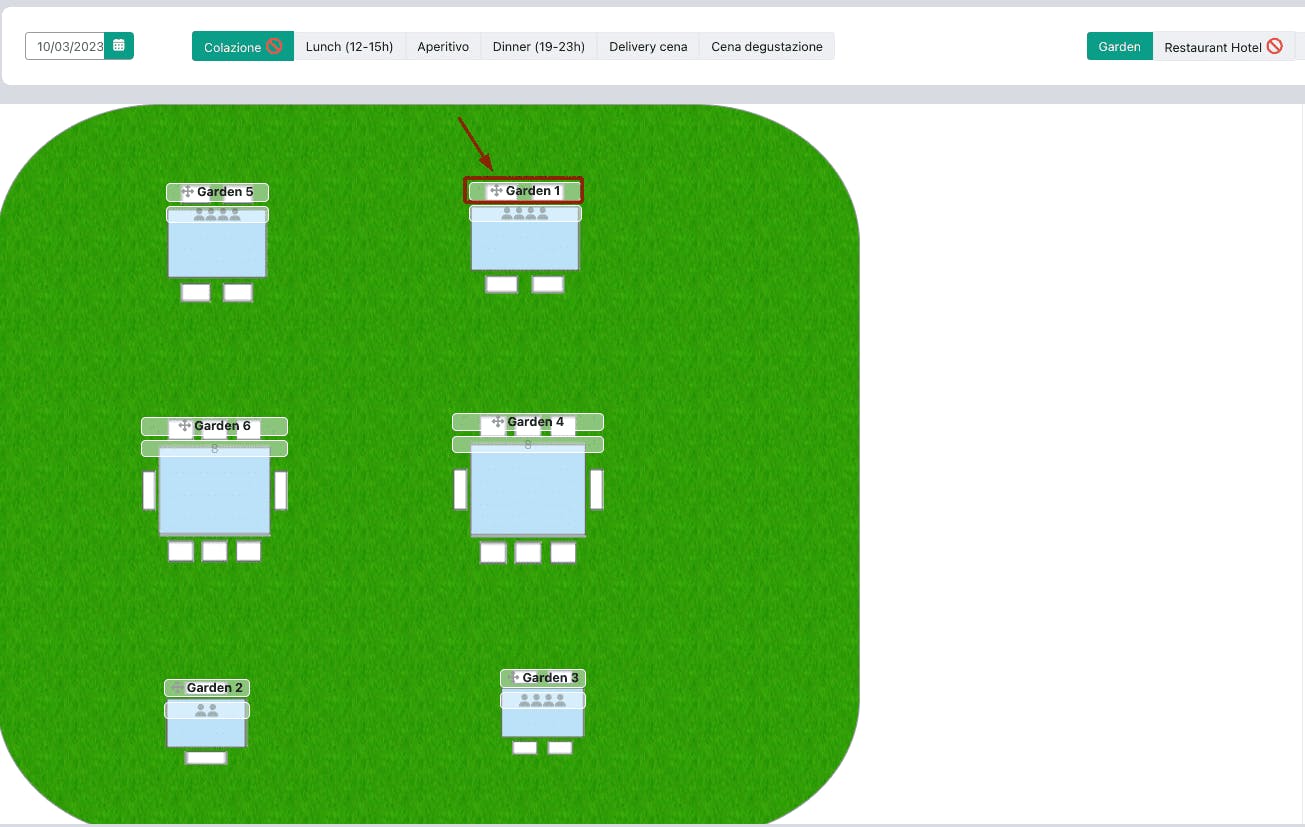
Click on the name or number of each table and drag it to the point of the room you prefer:
These buttons allow you to respectively:
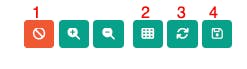
Activate the Out Of Service: the button will only appear if you select a room associated with a specific service (Click HERE to know more about the Out Of Service)
Automatically place tables
Cancel the change and go back to the layout saved as default
Save a new layout as default
Functions available on the Floor Plan
At the top, you have several buttons allowing you to view what you need on the map

1. By clicking on the calendar, you can view a particular day, and if you want you can arrange the tables in a specific position for that day only. Saving will be automatic, you won't have to do anything else!
2. Choose which service to view
3. Choose a dining room if you prefer
4. Use the magnifying glasses to zoom out or reduce the map
5. Use the sidebar to extend the view of the room and reduce the right side, where you can see a summary of room and reservations (click here to see how)
Functions available on the table
Clicking on the table will open this screen where you can:

1. change the name of the table and quickly access its corresponding QR code
2. add a reservation manually
3. access the table configuration to change its size and rotation
4. change the representation of the table on the map (choose a model, a colour or upload a photo)
Note: You can see points 3 and 4 if under Configuration > Dining Areas you have activated the option Enable configuration on the map.
Dining area and reservations summary
On the right side of the screen you will find the summary of the room, here you can:

click on the green pencil to access room configuration
see how many guests are already assigned to each table (in this example there are 13 people seated)
see how many tables are available (in white) and how many are occupied (in red)
By clicking Add, you can insert a new table in this specific dining area.
Immediately below, you can see the reservations summary:

click on the viewfinder icon and add a table to the reservation, in this case, the number of seats in the reservation won't be changed: an extra table will simply be added to the reservation
2. in the "Status" column, you can see the reservation status (confirmed, pending, etc.), and you can also signal the customer's arrival or a no-show
3. in the last column, you can access the reservation details or cancel the reservation
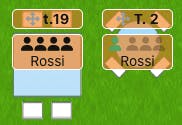
Reservation colours on the map
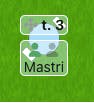
On the map, each reservation has a different colour based on the number of seats of each table:
Red: the table is fully occupied, and the maximum capacity has been reached.

Grey: the table is partially occupied, i.e. the maximum capacity has not been reached (e.g. there is only 1 person on a 2-person table). In this case, the number of guests assigned to the table is highlighted in green.
Orange: the tables where there are more guests in the same reservation are orange; the colour changes to orange, if you've used the viewfinder icon to add a table to a reservation.
❗️ Remember you can decide to use this digital map just for yourself or your staff and you can share it with your customers too! When customers book they can also choose where to sit if you like: click here for more information.